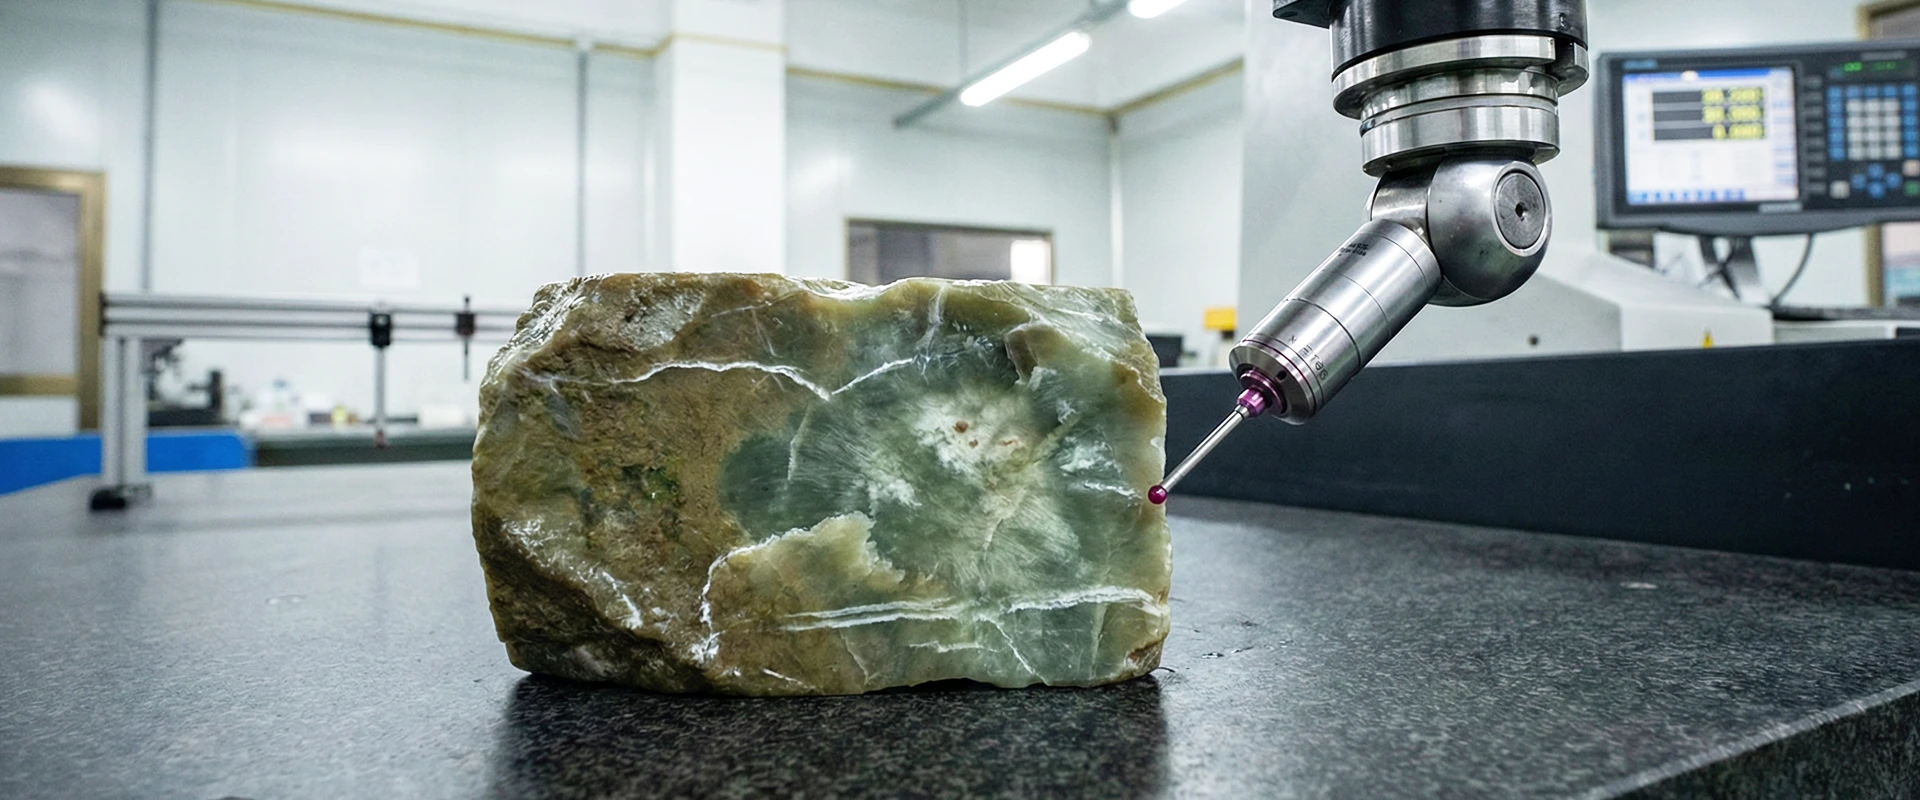
If your jade parts fit perfectly in the sample stage but start failing during assembly once you scale to thousands of pieces, the root cause is rarely “bad luck.” In most cases, the batch is missing a measurable tolerance system: clear references (datums), controlled geometry (GD&T where needed), and a pass/fail inspection rule everyone agrees on.
This guide explains tolerances and GD&T in buyer-friendly language and shows how an industrial-style control plan prevents “surprise non-fit” in mass production. You’ll also get an RFQ-ready checklist and inspection expectations that make supplier quotes comparable and QC disputes avoidable.
Table of Contents
The Real Reason Samples Fit but Batches Fail in Assembly
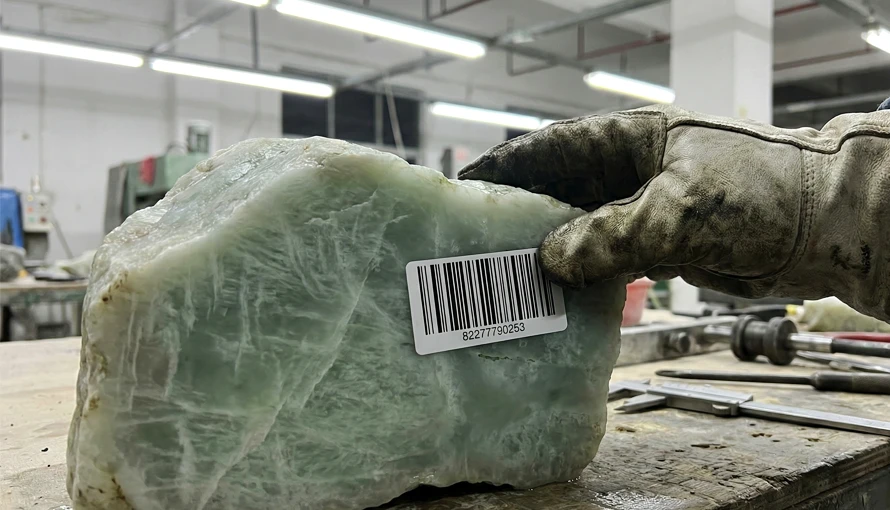
A sample is usually produced with extra attention, slower speed, and selective polishing decisions that are hard to replicate at volume. When production ramps up, small variations accumulate across machining, re-clamping, polishing, and handling, and those variations show up as assembly failures rather than “visible defects.”
Buyers often describe the problem as “inconsistent size,” but the more expensive failures come from inconsistent relationships between features—like a hole drifting relative to a seating surface, or a face losing flatness after finishing. That’s exactly where basic ± size tolerances stop protecting you and where datum-based controls become the difference between a smooth assembly line and constant rework.
Common “doesn’t fit” symptoms buyers report
Parts that should slide into a housing suddenly require force, or they only fit after hand-sanding and random “adjustments.” This is a classic sign that either the critical size tolerance is too loose for the functional fit, or the finishing process is shifting the final dimension beyond what your assembly can tolerate.
Another frequent symptom is wobble, rocking, or visible gaps even when the nominal thickness looks correct. That often points to flatness/parallelism issues on seating surfaces, or to a situation where one surface is being treated as “the reference” during assembly but was never defined as a datum during manufacturing and inspection.
You may also see holes, slots, or alignment features that are “in the right place” by eyeballing but still miss during assembly. This typically happens when the supplier checks hole diameter but doesn’t control or measure the hole position relative to the assembly’s functional reference faces.
What’s actually happening
In mass production, “precision” is not a feeling—it’s a contract made of three parts: what feature matters, what it is referenced to, and how it will be measured. When any of these three is missing, suppliers can pass their internal checks while your assembly still fails, because they are validating the wrong thing.
Most “batch drift” problems come from unclear reference selection, inconsistent fixturing, or measurement that doesn’t match the assembly function. If the supplier is allowed to choose the reference surfaces on the shop floor, you lose control of the functional geometry even if the part looks cosmetically perfect.
Tolerances vs. GD&T: What You Need to Specify to Avoid Assembly Surprises
A size tolerance (for example, an outer diameter or thickness with ±) controls only the dimension itself, not the shape of a surface or the relationship between two features. If your assembly depends on a surface being flat, two faces being parallel, or a hole being located accurately from a seating plane, size tolerance alone is not enough to guarantee fit.
GD&T is the language that controls geometry and feature relationships in a measurable way. You don’t need to become an engineer to benefit from it—you only need to use it where the assembly actually cares, and keep the rest of the part under reasonable general tolerances.
Size tolerance is not enough (and when it is enough)
Size tolerances work well for parts that function independently, or where the assembly is forgiving—like a decorative bead hole where position is not critical, or a thickness that does not define alignment. In these cases, specifying a clear nominal dimension plus an acceptable ± range can be sufficient and cost-efficient.
Size tolerances fail when your part must “mate” with another component using surfaces or features that have to be aligned. If a seating face is slightly warped, the thickness can still measure “in tolerance,” yet the part will rock, leak, or create a gap that breaks the product experience.
GD&T in one sentence: controlling shape and relationshipsto a defined reference
GD&T controls how a feature is allowed to vary relative to a reference system, not just how big it is. In buyer terms: GD&T tells the factory what “must line up,” what “must stay flat,” and what “must remain centered” so that assembly works consistently.
The reference system is built using datums, which are simply the surfaces or features that your assembly “trusts.” Once those datums are defined, the supplier can fixture and inspect the part in a way that directly matches the assembly function instead of guessing.
The 5 GD&T controls that most often affect jade assemblies
Flatness protects seating surfaces, especially where a jade part needs stable contact with metal or polymer components. If flatness is uncontrolled, you can get rocking or uneven contact even if the overall thickness is correct.
Parallelism and perpendicularity protect stacked geometry and alignment. If two faces must remain parallel for proper fit or for visual symmetry in a premium product, these controls prevent “tilt” that shows up only when the part is assembled.
Position is critical when holes, slots, or alignment pins must match other parts. Checking only hole diameter is not enough; position ensures the hole center is where it must be relative to the datum surfaces your assembly uses.
Profile is the most useful control for complex curves that must mate or must look consistent across a batch, because it controls the whole contour relative to datums. For many jade designs, profile tolerance is the practical bridge between artistic curves and industrial inspection language.
For rotational or symmetry-driven parts, buyers often care about “centered” behavior and smooth mating, which can be addressed through controls related to axis alignment and runout depending on the design. The key buyer takeaway is simple: if the part must behave like it has a reliable center, you must define the reference and the acceptance rule that proves it.

“What Is the Datum?” The Missing Step That Breaks Most Jade Orders
If you only remember one concept from this article, make it this: most assembly failures in batch jade orders happen because the supplier and the buyer are not referencing the part from the same “starting point.” A datum is simply that starting point—a chosen surface or feature that the factory uses to fixture the part and the inspector uses to measure it, so the numbers reflect real assembly behavior.
When datums are missing, the supplier will still produce and measure parts, but they may measure from convenient surfaces instead of functional ones. The result is frustrating: a batch can “pass” internal checks and still fail in your product because the wrong reference was used.
How to choose datums based on assembly function (buyer rules of thumb)
Start with the surface that physically seats in the assembly—this is usually your primary datum because it controls stability and contact. If your jade component rests against a metal frame, for example, that contact face should typically be the first reference, even if it is not the prettiest surface.
Next, choose a secondary datum that controls alignment, such as a side face, a shoulder, or a groove that “steers” the part into position. Finally, pick a tertiary datum that prevents rotation or locks orientation, such as a notch, flat, or a specific edge that always faces the same direction in assembly.
A practical buyer test is: “If I were assembling this part by hand, what three contacts naturally locate it?” Those are usually the right datums, because they mirror real-world constraints instead of manufacturing convenience.
What happens when supplier picks datums for you
If the supplier chooses datums without your guidance, they will often pick surfaces that are easiest to fixture or easiest to measure repeatedly. That can be fine for decorative parts, but it becomes risky when your assembly relies on a different face or axis as the functional reference.
This is how you get a painful mismatch: your assembly references “Face A,” while the supplier machines and inspects relative to “Face B.” Both parties think they are doing the right thing, but the batch outcome is misalignment, inconsistent gaps, or holes that don’t line up.
Even worse, the supplier might change datum selection between setups (for example, after a polishing step) because nothing is contractually fixed. That creates batch-to-batch variation that is hard to diagnose and nearly impossible to prevent without locking the datum scheme in the drawing or RFQ notes.
Best practice: datum callouts + a short note on mating surfaces
The best practice is simple: call out datums on the drawing and add a short note stating which surfaces are mating / critical-to-fit in the final product. This tells the factory where to protect geometry during machining and finishing, and it tells QC where to measure from so your inspection results match assembly reality.
If you don’t have an engineering team, you can still do this in buyer language inside the RFQ. For example: “Use the bottom seating face as Datum A; use the long side face as Datum B; the notch face is Datum C; all hole locations must be controlled relative to A|B|C.”
When datums are clear, you also reduce quote ambiguity because suppliers can evaluate fixturing difficulty and inspection method upfront. That transparency is what turns “craft precision” into an industrial-grade, enforceable production agreement.
[Insert: Factory Photo #2 — required placement]
A photo of a fixture/jig showing how the primary datum face contacts the locator points (no sensitive details needed). This visually proves that the datum scheme is real, not just words in a PDF.
The Buyer’s Tolerance Strategy for Jade: Where to Be Tight, Where to Be Practical
Many buyers make the same mistake in opposite directions: they either specify tolerances that are too loose and get assembly failures, or they specify tolerances that are too tight and drive cost, yield loss, and delays. A practical tolerance strategy focuses tight control only where the assembly function demands it, and keeps everything else “reasonable” so production stays stable at scale.
Jade and other natural stones also introduce finishing realities—polishing, edge breaking, and cosmetic refinement can shift dimensions and geometry. A buyer-friendly way to manage this is to define which surfaces are protected for function, and which areas allow finishing freedom without affecting fit.
A practical “A/B/C feature” classification
Classify features as A (critical-to-fit), B (functional but forgiving), and C (cosmetic-only). A-features are the ones that directly drive assembly success—datums, seating planes, hole/slot positions, and any dimension that locks the part into another component.
B-features influence performance or premium feel but allow more variation, such as non-mating contours near an interface or secondary alignment surfaces that have backup compliance in the assembly. C-features are cosmetic surfaces that do not locate the part, where you can allow broader general tolerances to protect yield and keep cost under control.
This classification helps both sides: buyers get predictable assembly results, and manufacturers can allocate inspection time intelligently. It also prevents “inspection overload,” where you measure everything tightly but still miss the one relationship that actually matters.
Why natural stone + polishing means you need a process-aware tolerance
Polishing and finishing can change dimensions slightly and can also influence geometry like flatness or edge straightness, especially on thin sections. If your tolerance plan ignores finishing, you may approve a machining sample that later shifts after polishing, creating a batch that is “beautiful” yet inconsistent in assembly.
A process-aware tolerance plan defines protected functional surfaces early and controls how finishing is applied around them. It can also include a clear “polish allowance” strategy—so the supplier knows what must be held tightly after final finishing, not just after rough machining.(GIA-natural stone JADE)
This is especially important for mating faces and datum surfaces, where even small shape changes can create rocking, gaps, or alignment drift. When you align tolerance, datums, and finishing steps, you turn a natural-material workflow into a repeatable industrial process.
[Insert: Data Table #1 — strongly recommended placement]
“Before/After polishing dimensional shift (n=30)” showing mean/min/max for at least one A-feature and one C-feature. This builds trust because it demonstrates you manage finishing variation with data, not promises.
How Industrial GD&T Control Works in a Jade Factory (So You Can Trust 5,000+ pcs)
When buyers hear “GD&T,” they often imagine complicated symbols, but in a factory it translates into something very practical: a repeatable workflow that keeps critical features consistent across thousands of pieces. Industrial-grade control means we don’t rely on a “master craftsman mood”; we rely on defined datums, stable fixturing, and checkpoints that catch drift before it becomes a full-batch problem.
For jade and semi-precious stones, the control plan must also respect material realities—grain behavior, micro-chipping risk, and finishing impact. The goal is not to pretend stone behaves like steel, but to apply the same mechanical-engineering discipline to define what must be controlled, what can vary, and how we verify it.
From CAD to tooling: controlling variation starts before cutting
Industrial consistency starts at the drawing review stage, not at the CNC machine. Before production, we map your design into an “A/B/C feature” plan, confirm the datum scheme, and identify which dimensions are truly critical to assembly versus purely cosmetic.
At this stage, we also lock the measurement logic: for each A-feature, we define what will be measured, by what method, and what constitutes pass/fail. This prevents the classic supplier problem where the shop measures “easy dimensions” while the buyer cares about a feature relationship that was never specified.
If the drawing leaves gaps—missing datums, unclear mating surfaces, or conflicting tolerances—an industrial supplier should flag them before quoting or at least before the first article. This is where batch success is decided, because ambiguity in specs always becomes inconsistency in production.
Fixturing + toolpath choices that protect datums and profiles
For mass production, fixturing is the physical translation of your datum scheme. The fixture ensures every part “sits” the same way, so the CNC toolpath references the same functional surfaces that your assembly uses.
Repeatability often depends on minimizing re-clamping and controlling how the part is flipped or re-oriented between operations. Each time a part is re-clamped, datum transfer error can creep in, which is why industrial production plans reduce unnecessary setups and use consistent locating surfaces.(Gem Treatments)
Toolpath strategy also matters because stone behaves differently at edges and thin sections. A stable plan avoids aggressive cutting near critical-to-fit faces, controls chip risk, and prevents geometry from drifting due to local breakout that becomes obvious only after polishing.
In-process checkpoints that prevent drift
A reliable high-volume workflow typically includes three checkpoints: First Article Inspection (FAI), patrol/in-process checks, and end-of-lot audit. The purpose of FAI is to confirm that the datum scheme, machining, and finishing sequence can actually achieve your A-feature requirements before the line ramps up.
Patrol checks are what stop drift—tools wear, fixtures loosen, and finishing variation accumulates. Instead of discovering problems at the end of a 5,000-piece run, in-process checks catch trend movement early so corrections happen while the batch is still recoverable.
End-of-lot audits provide closure: they confirm that the batch shipped matches the acceptance criteria and that there is documented evidence to support it. For buyers, this reduces the risk of receiving a “mixed quality” lot where only the early pieces match the approved sample.
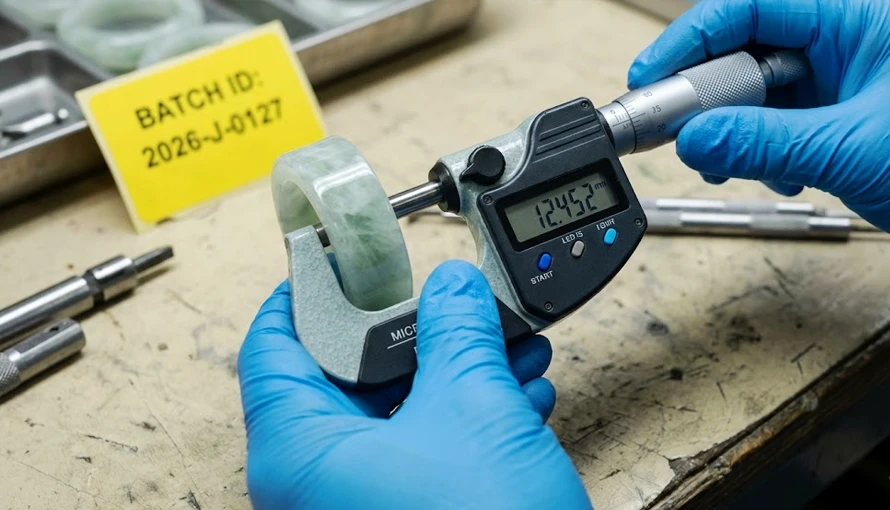
Measurement & Inspection: “What Will You Measure, With What Tool, and How Will You Decide Pass/Fail?”
The fastest way to avoid QC disputes is to make measurement explicit before production starts. Buyers should never accept “we will check it” as a plan; you want to know what gets measured, what tool is used, what the sampling rule is, and what happens if results drift.
For jade parts, measurement must be matched to feature type and to the datum scheme. A measurement that ignores functional references can produce “good numbers” that do not predict assembly performance, which is why datum-based inspection is the backbone of industrial-grade verification.
Match tool-to-feature (buyer-friendly mapping)
For basic size checks (OD/ID/thickness), calipers and micrometers can be appropriate when the geometry allows stable contact and repeatable readings. For flatness, parallelism, and height relationships, a surface plate and height gauge approach can be more reliable, especially when the assembly depends on seating stability.
For high-volume efficiency, functional go/no-go gauges can be a buyer’s best friend because they mimic the assembly condition directly. Instead of debating decimal places, a functional gauge answers the real question: “Does it fit the way it must fit?”—and it can be applied quickly across a large batch.
For complex curves where profile matters, optical or template-based checking may be used depending on the geometry and agreed acceptance rule. The key is that the method must be declared up front so “pass/fail” is consistent across shifts and across batches.
The inspection report buyers should request (minimum fields)
An industrial inspection report should always tie measurements to traceability: drawing revision, lot number, date, operator/inspector ID (or station ID), and the exact measurement tool/method. Without revision and lot traceability, a report is just numbers without accountability.
For each A-feature, the report should show the nominal requirement, tolerance or GD&T requirement, the measured value(s), and the pass/fail decision. When buyers see the requirement and the reading in the same row, it becomes much harder for a supplier to “reinterpret” the agreement after the parts ship.
Sampling plans: what’s reasonable for stone parts (practical tiers)
A practical sampling plan for stone parts usually evolves in tiers: a tighter plan during pilot/early ramp, and a stable plan once the process proves repeatable. For example, a buyer may require 100% checks on a single A-feature during the first run, then shift to interval sampling once the trend is stable.
The most important principle is to sample A-features more heavily than B- or C-features, because A-features drive assembly success and customer complaints. A balanced plan protects your functional risk without turning inspection into a bottleneck that slows delivery.
What to Put in Your RFQ So the Quote Is Comparable—and the Batch Is Enforceable
Most large-order failures start long before production—right inside the RFQ. If your RFQ doesn’t define datums, critical-to-fit features, and the inspection rule, suppliers will quote based on their own defaults, and you’ll end up comparing prices that are not based on the same quality target.
A good RFQ makes the batch “enforceable,” meaning you can objectively decide pass/fail without arguing about interpretation. This is especially important for jade, where finishing and cosmetic judgment can distract from the real functional requirement: parts must assemble consistently.(CIBJO Gem Materials Definitions)
RFQ checklist
Include your target quantity, delivery schedule, and whether you expect a pilot run before full production. If the order ramps from 200 to 5,000 pieces, say so—process control and sampling strategy should scale with ramp stages, not stay vague.
Attach the latest 2D drawing (PDF) and 3D file (STEP/IGES if available), and clearly label the revision. If you do only one thing, do revision control—many batch disputes come from producing to an older drawing version that “looks similar” but changes critical relationships.
State the datum scheme in plain language if you’re not using full GD&T callouts: “Seating face = Datum A, long side = Datum B, notch/flat = Datum C.” Then list A-features (critical-to-fit) such as hole positions, seating face flatness, and any dimension that locks the part into assembly.
Define default tolerances for non-critical dimensions so suppliers quote on the same baseline. If you don’t specify this, every supplier silently chooses a different default and your quotes stop being comparable.
Require an inspection report for A-features and declare sampling expectations (pilot vs mass production). Also define packaging protection expectations—jade parts can pass dimensional QC but fail customer acceptance due to chips, scratches, or poor separation during shipping.
Two spec paths: “Simple tolerance only” vs “GD&T for critical-to-fit”
If your jade part is mostly decorative and assembly is forgiving, a “simple tolerance only” path can be enough: clear nominal dimensions, reasonable ± tolerances, and a basic inspection report. This keeps cost and lead time under control while still avoiding random supplier defaults.
If your part must mate with metal/plastic components, align holes/slots, or sit flush without wobble, use “GD&T for critical-to-fit.” In this path, you apply GD&T only on A-features—flatness/profile/position relative to datums—while keeping general tolerances for cosmetic surfaces so production remains stable at scale.
The buyer advantage of the GD&T path is predictability: it ties acceptance to functional geometry, not subjective judgment. It also makes supplier capability evaluation easier because the supplier must commit to a datum-based inspection approach rather than generic “we’ll try our best.”
FAQ
How tight can you hold on jade?
A reliable answer is never a single number without context, because achievable tolerance depends on geometry, thickness, feature type, and the finishing sequence. The industrial approach is to confirm tolerances by feature class—A-features get validated with the agreed method and stability checks, while C-features remain under practical general tolerances.
For buyers, the right move is to specify what must be tight for assembly and allow flexibility elsewhere. When you focus tight control only where it matters, you get better yield, fewer delays, and a more stable batch outcome.
Can you guarantee every piece fits?
A serious supplier will avoid unrealistic “100% perfect forever” claims and instead guarantee an enforceable acceptance system: defined datums, controlled A-features, and a sampling plan with documented inspection results. That’s how industrial manufacturing manages risk—through measurable control and proof, not slogans.
If your assembly is extremely sensitive, the safest approach is a short pilot run plus a functional gauge that mimics the assembly. Once the process proves repeatable, the batch can scale with confidence and clear rules.
Do I need GD&T if I don’t have an engineer?
Not always, and you don’t need to “speak GD&T” to get the benefit. Many buyers succeed with a simplified requirement set: define datums in plain language, list A-features that must be controlled to those datums, and require an inspection report tied to revision and lot.
When needed, a supplier can help convert your functional needs into a minimal GD&T set focused only on fit-critical relationships. The goal is not to overload you with symbols, but to protect your assembly outcome with the smallest number of unambiguous requirements.


